Configuring Single Sign-On (SSO) Enterprise
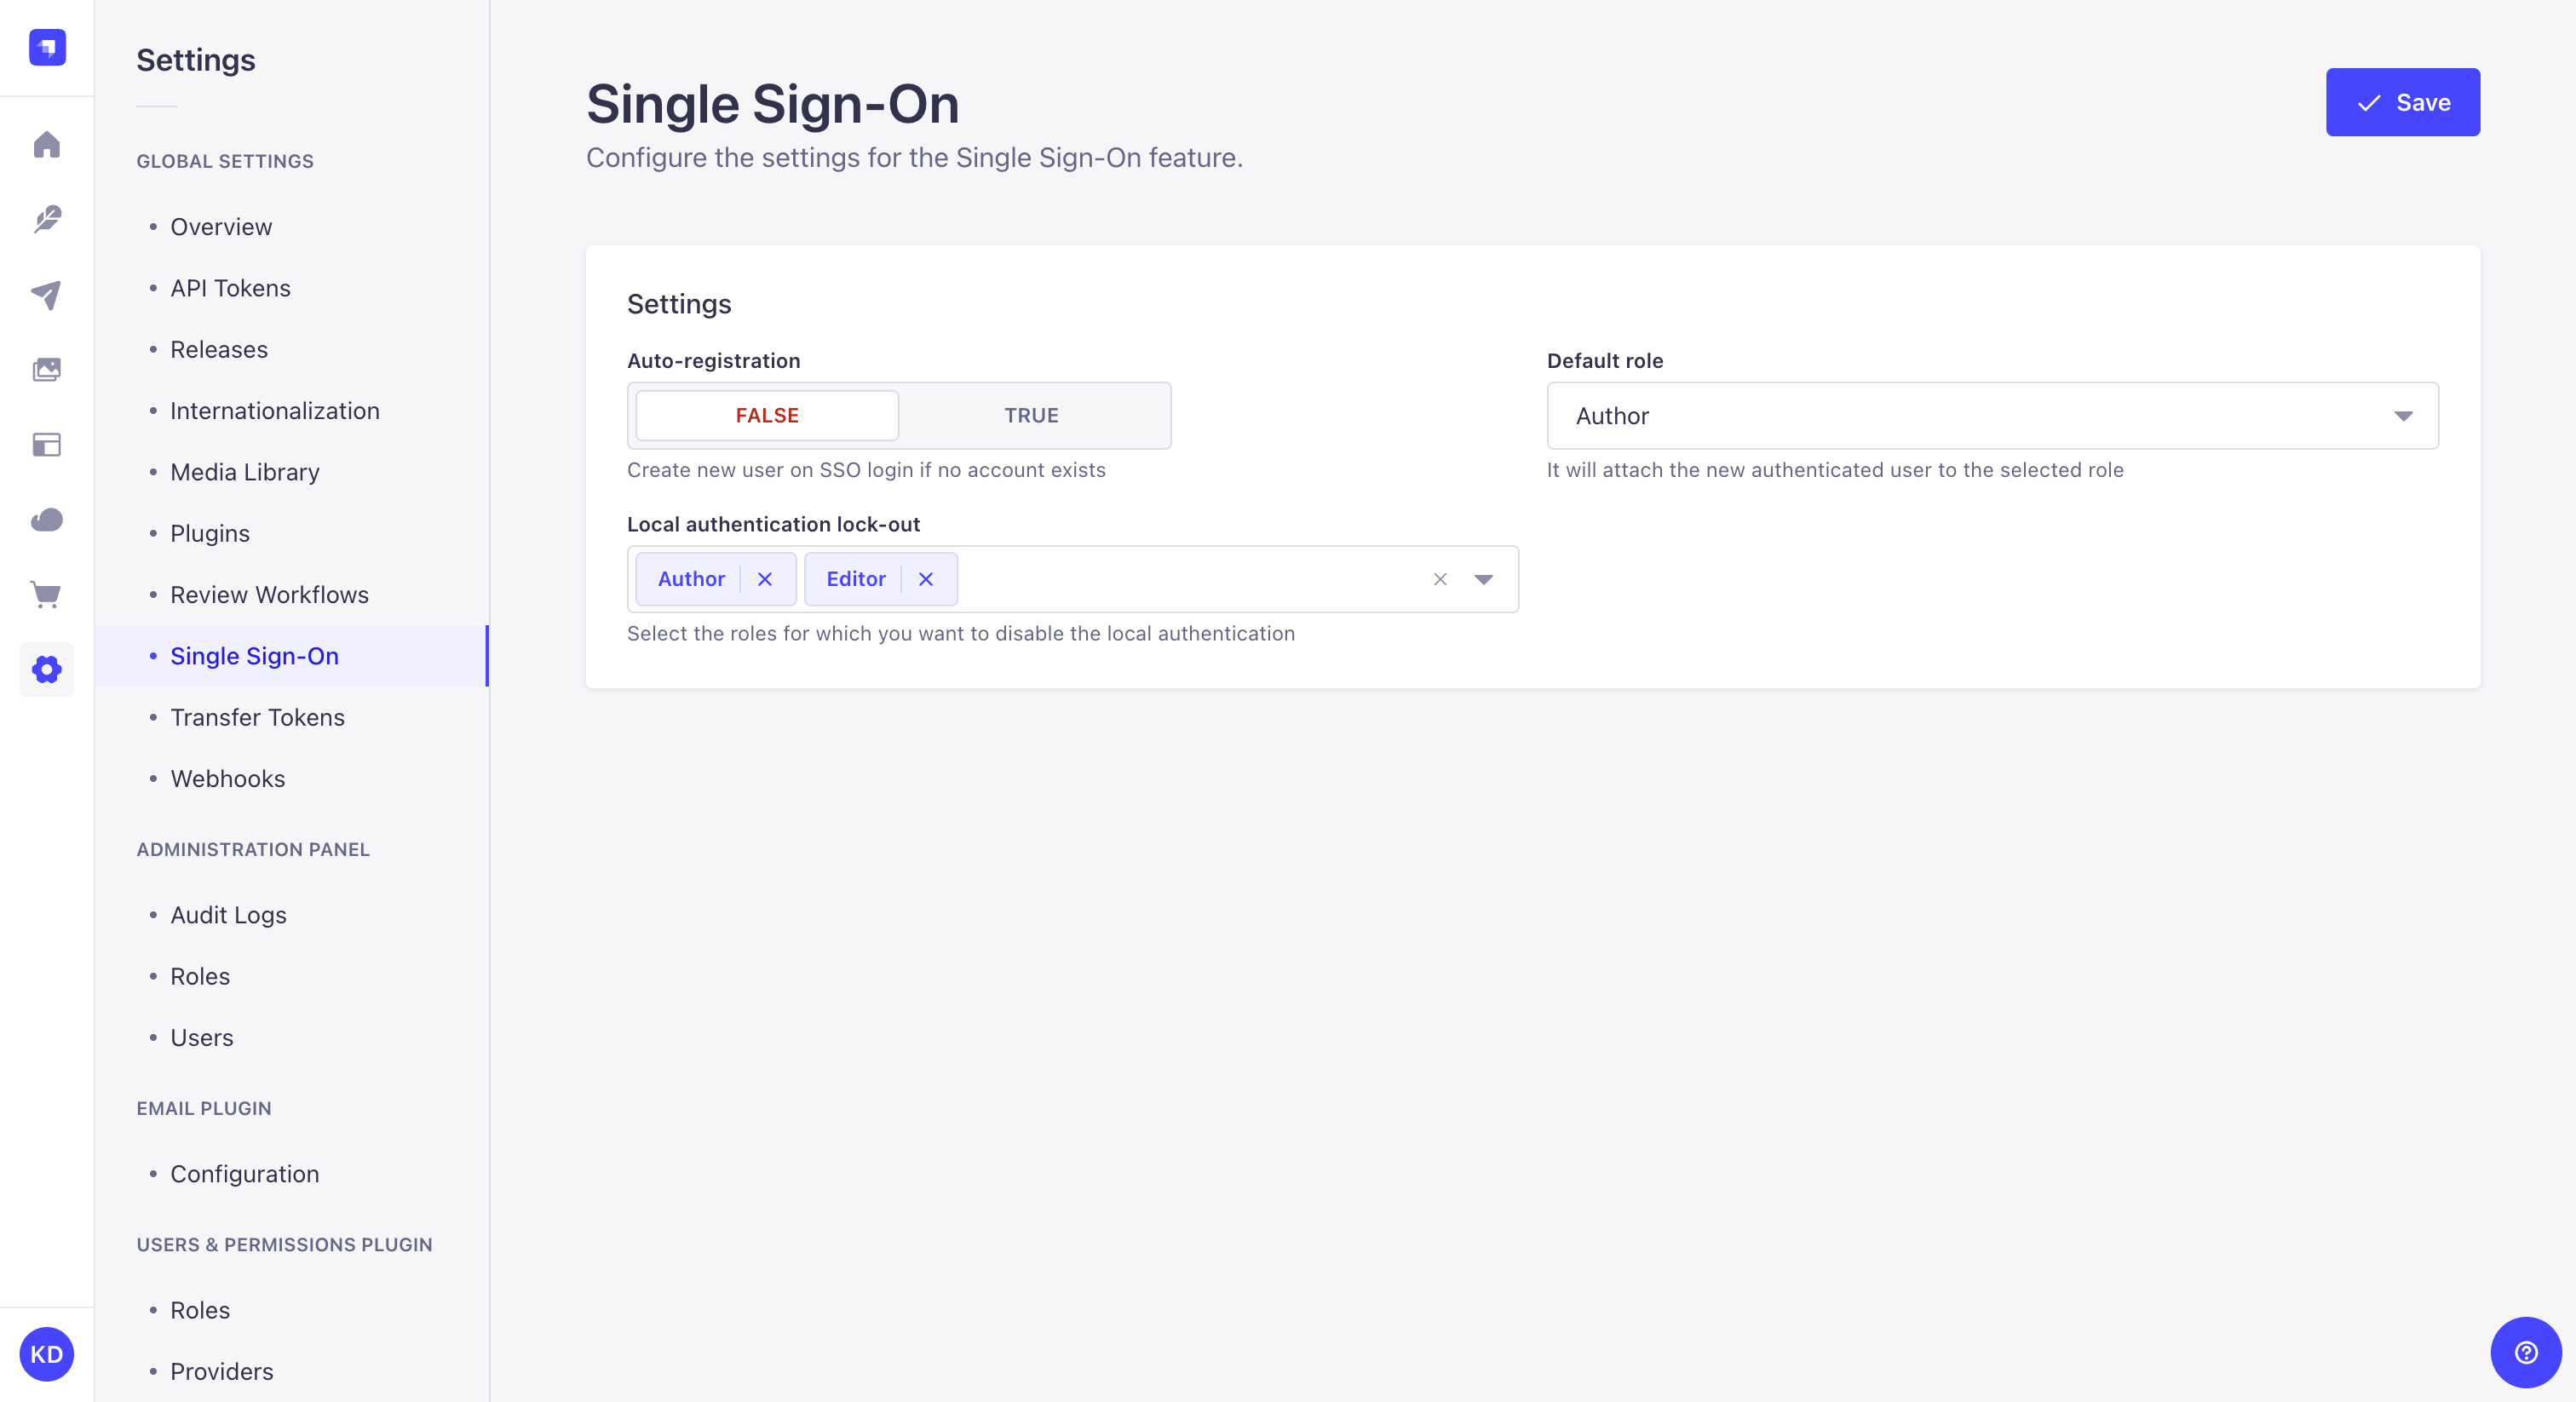
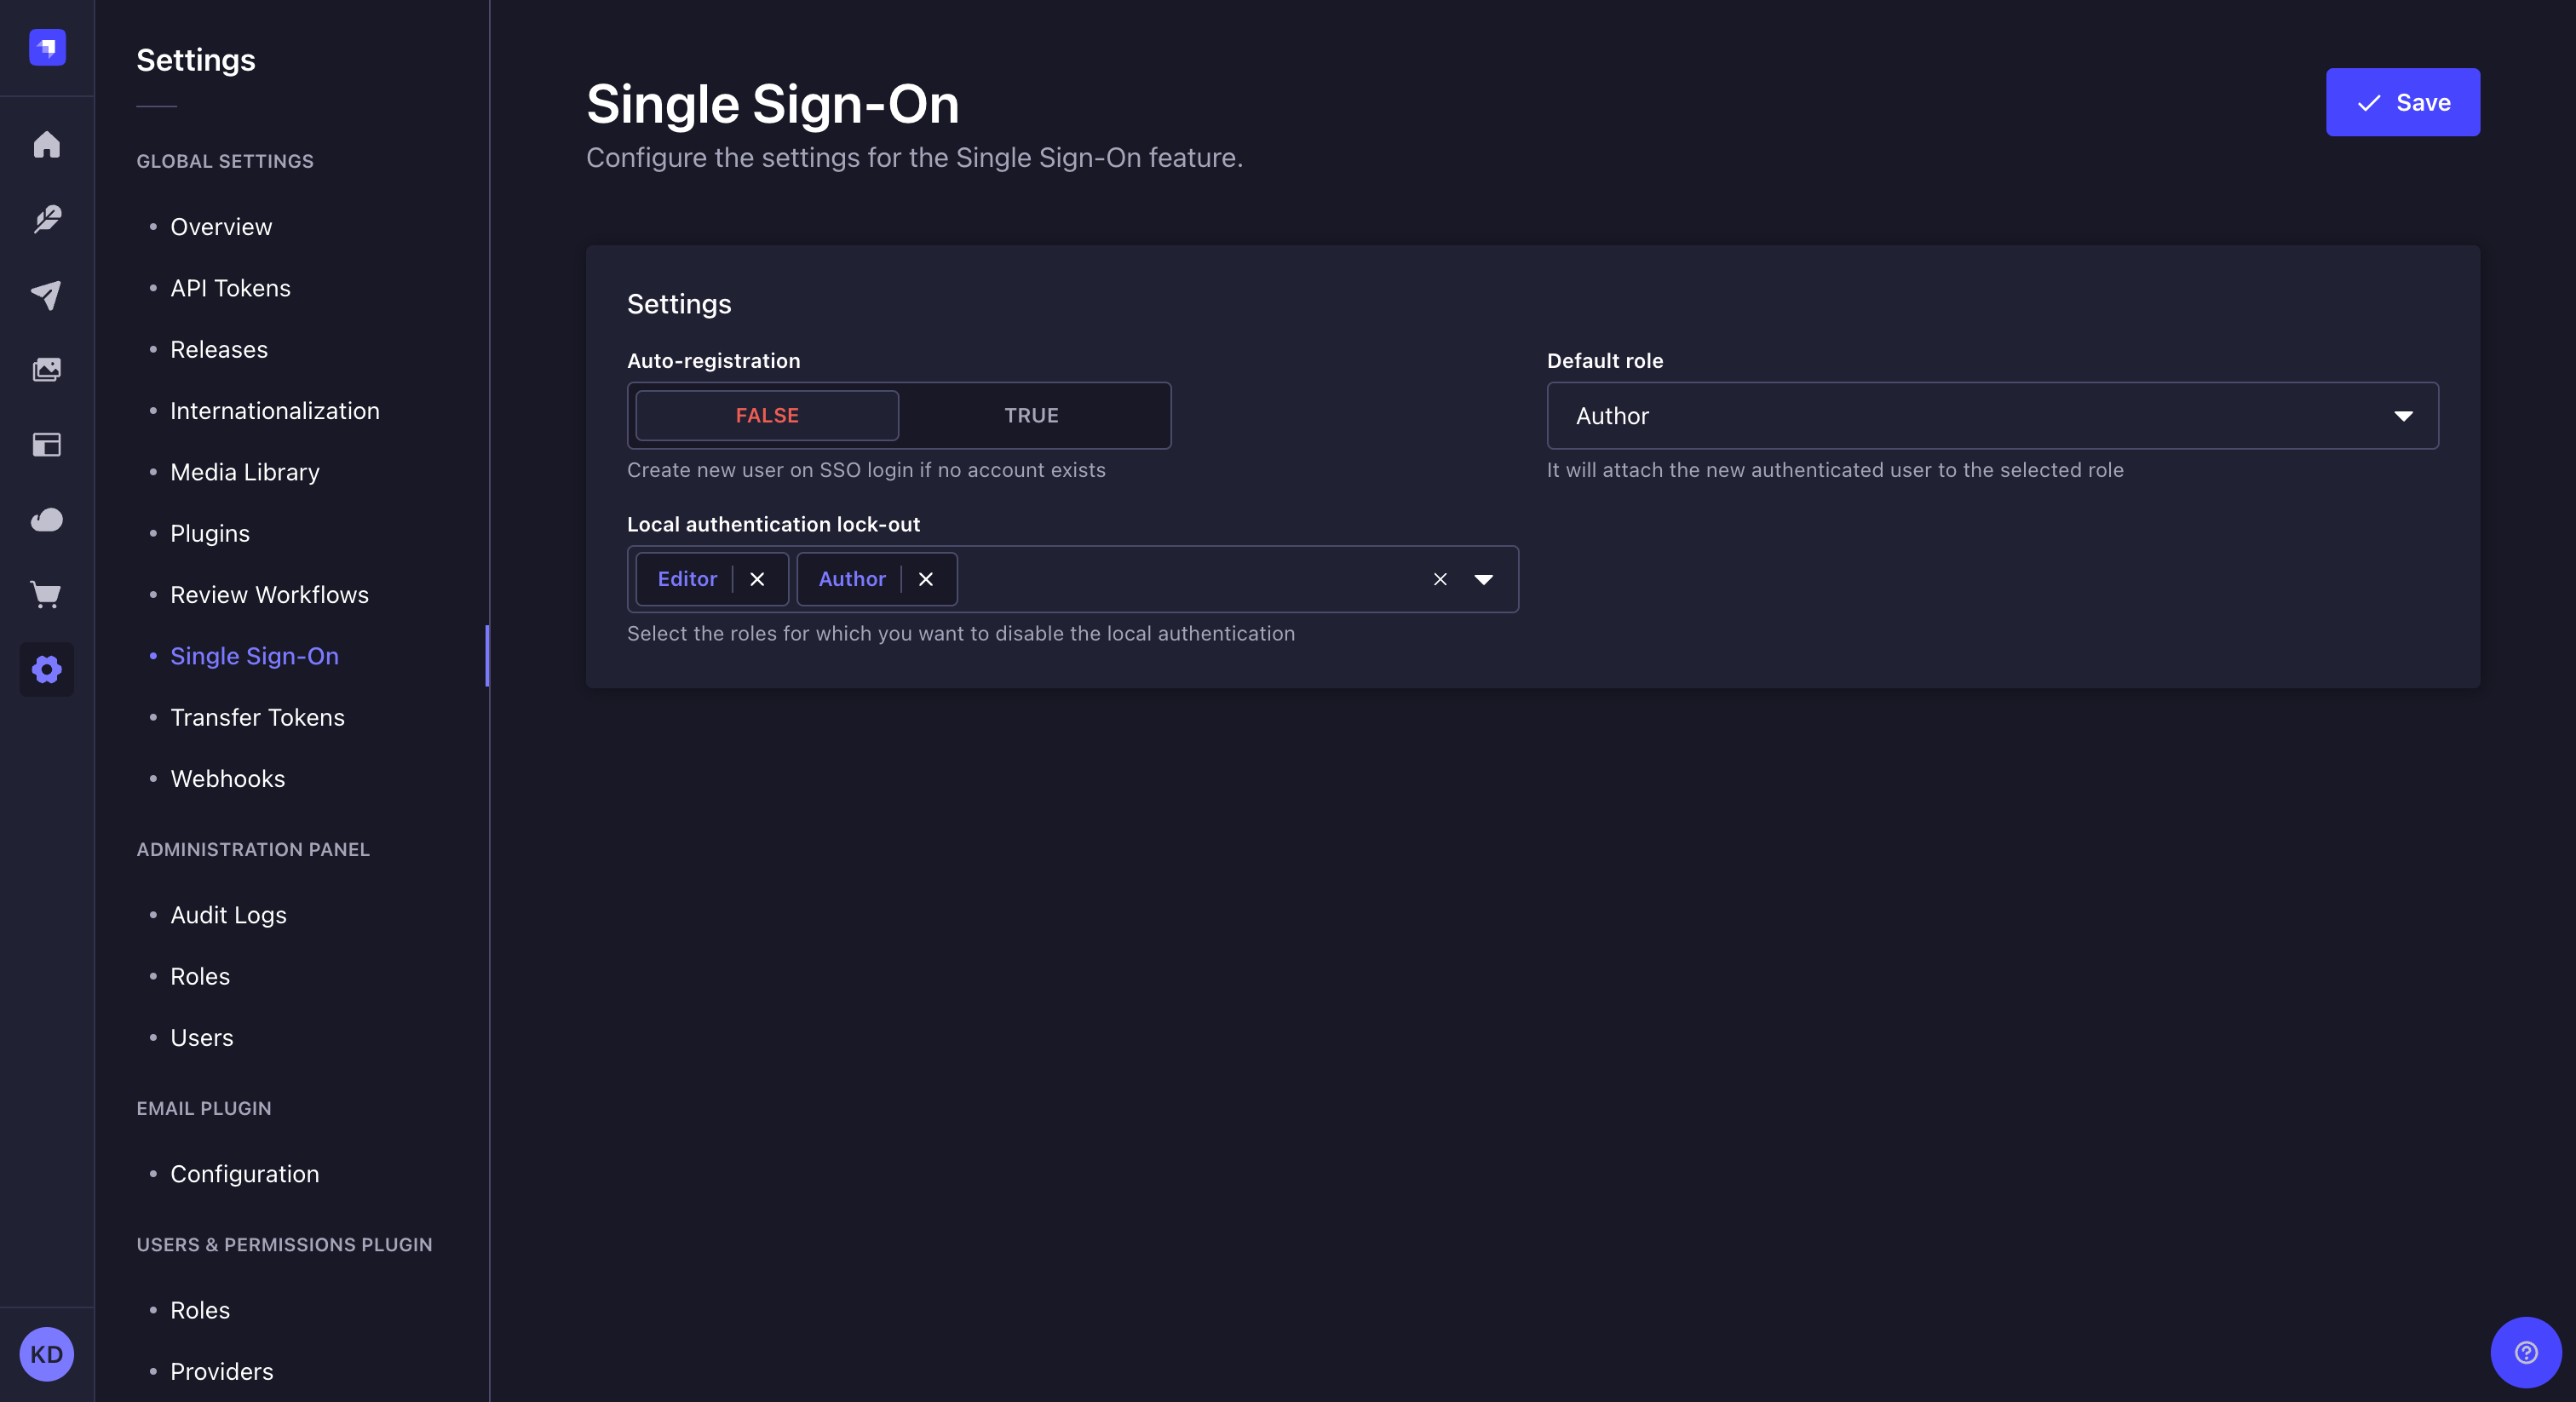
Single Sign-On (SSO) can be made available on a Strapi application to allow administrators to authenticate through an identity provider (e.g. Microsoft Azure Active Directory). SSO configurations can be done from Settings > Global settings > Single Sign-On.


To configure the SSO feature settings:
- Go to the Global settings > Single Sign-On sub-section of the settings interface.
- Define your chosen new settings:
| Setting name | Instructions |
|---|---|
| Auto-registration | Click on True to allow the automatic creation of a new Strapi administrator when an SSO login does not match an existing Strapi administrator account. If this setting is set on False, new Strapi administrators accounts must be created manually beforehand. |
| Default role | Choose among the drop-down list the role to attribute by default to auto-registered Strapi administrators through SSO login. |
| Local authentication lock-out | Choose among the drop-down list the roles for which the local authentication capabilities are disabled. Users locked out of local authentication will be forced to use SSO to login and will not be able to change or reset their password. |
- Click the Save button.
Don't select Super Admin in the roles list for the Local authentication lock-out. If Super Admin is selected, it becomes possible to accidentally lock oneself out of the Strapi admin panel entirely. A fix will be provided soon.
In the meantime, the only way to get in if the Super Admin can't log in is to temporarily disable the SSO feature entirely, log in with username and password to remove the Super Admin role from the Local authentication lock-out list, and then re-enable SSO.